node-exporter部署
Prometheus的相关文章我在前面已经写过蛮多的了、关于 Prometheus 的基础知识这里我就不再详细描述了;感兴趣的小伙伴可以在我的博客首页自行搜索。今天我们来讲一讲Django是如何集成 Prometheus 实现监控告警的。这里我们为了方便测试、我们通过 Docker 快速部署 Prometheus和Grafana。为了方便数据采集、我们还需要把 node-exporter 部署好;开始之前我们先去把需要的 Docker 镜像拉取到本地。
docker pull prom/node-exporter
docker pull prom/prometheus
docker pull grafana/grafana
注:相关镜像也可以直接查看docker官方库:https://hub.docker.com/
然后我们通过下面的命令快速启动node-exporter:
docker run -d -p 9100:9100 \
  -v "/proc:/host/proc:ro" \
  -v "/sys:/host/sys:ro" \
  -v "/:/rootfs:ro" \
  --net="host" \
  prom/node-exporter
这里我们采用9100端口来暴露node-exporter、命令执行完成以后我们来查看一下服务是否已经正常启动:
[root@ZabbixServer ~]# docker ps -a | grep node-exporter
a9d3039079bf   prom/node-exporter   "/bin/node_exporter"   9 hours ago   Up 9 hours    peaceful_payne
[root@ZabbixServer ~]# netstat -nltp
Active Internet connections (only servers)
Proto Recv-Q Send-Q Local Address           Foreign Address         State       PID/Program name
tcp        0      0 0.0.0.0:80              0.0.0.0:*               LISTEN      5234/nginx: worker
tcp        0      0 0.0.0.0:22              0.0.0.0:*               LISTEN      6027/sshd
tcp6       0      0 :::9100                 :::*                    LISTEN      26039/node_exporter
tcp6       0      0 :::22                   :::*                    LISTEN      6027/sshd
[root@ZabbixServer ~]#
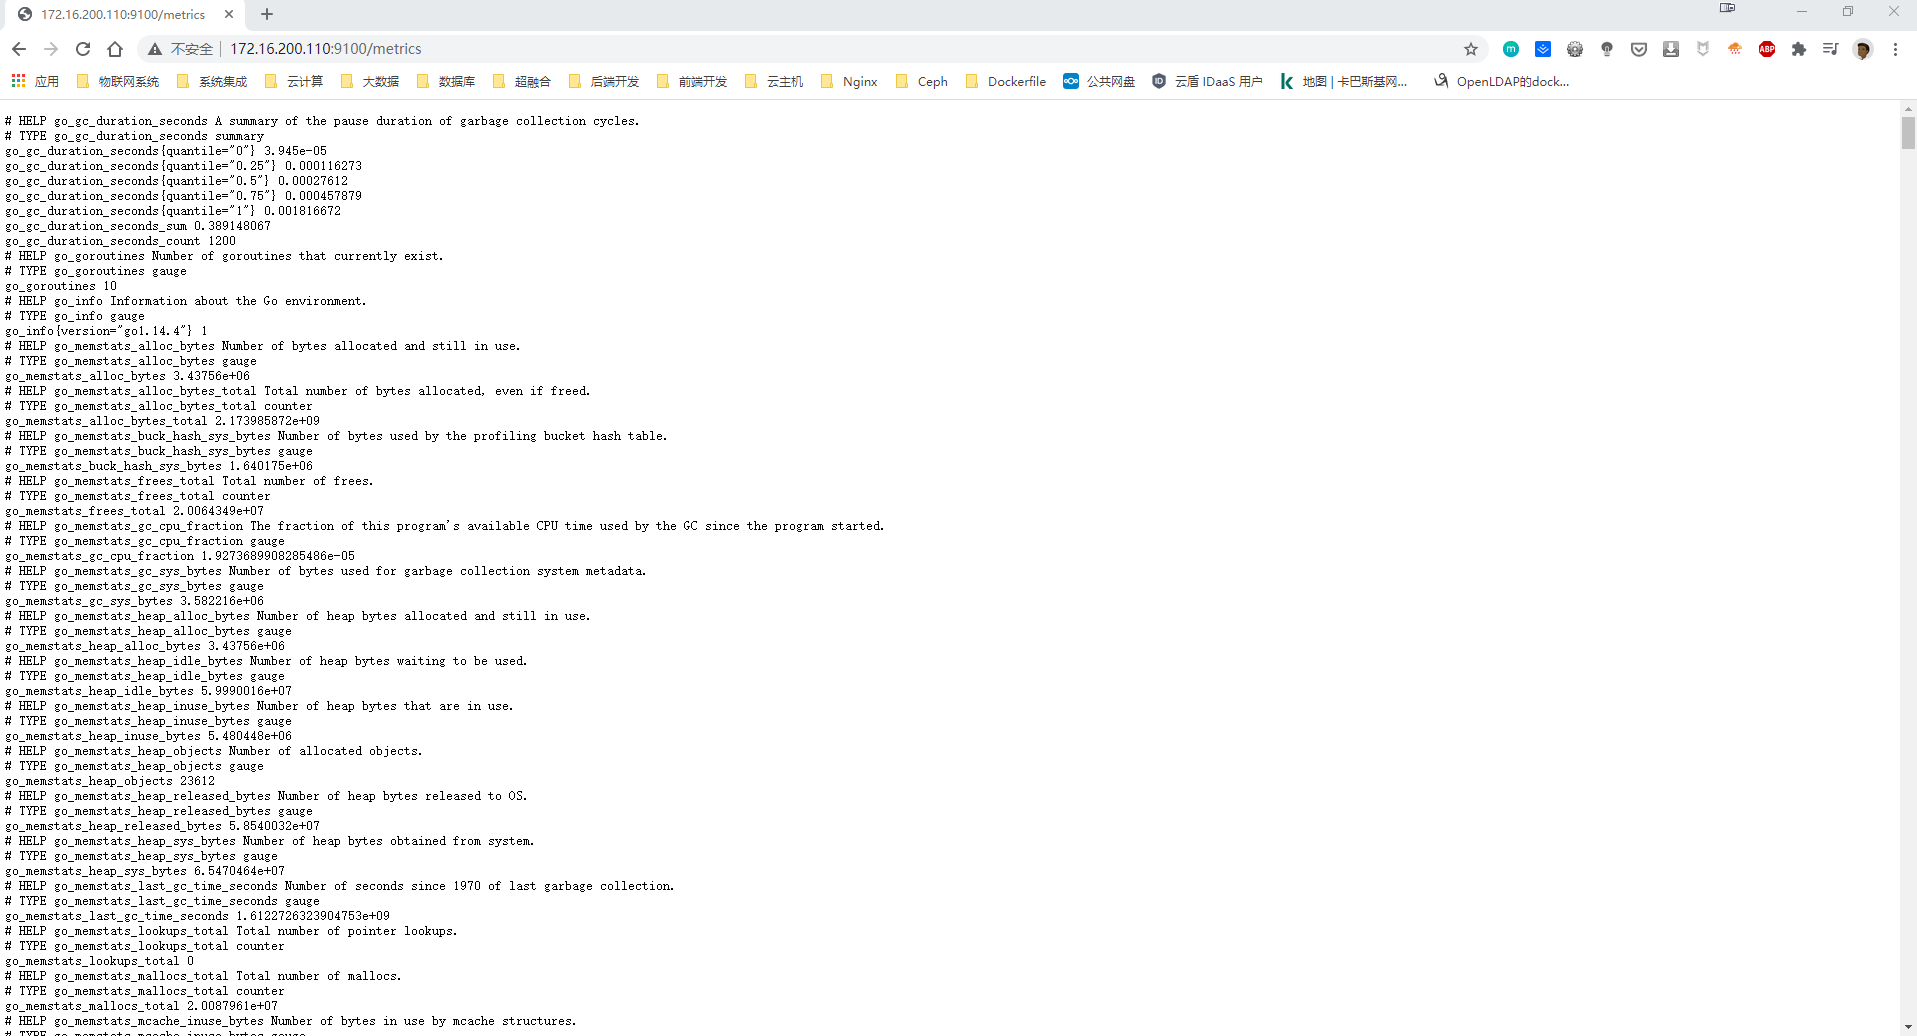
从上面我们可以看到node-exporter已经正常启动、我们可以去http://172.16.200.110:9100/metrics;从下图我们可以看到node-exporter已经开始采集数据了、有了这些基础数据我们就可以做数据展示了:
Prometheus 部署
下面我们就可以来安装 Prometheus 了、这里我们来编排一个yml文件、内容如下:
# 创建yaml文件
mkdir /opt/prometheus
cd /opt/prometheus/
vim prometheus.yml

# Yaml文件
global:
  scrape_interval:     60s
  evaluation_interval: 60s

scrape_configs:
  - job_name: prometheus
    static_configs:
      - targets: ['172.16.200.110:9090']
        labels:
          instance: prometheus

  - job_name: node-exporter
    static_configs:
      - targets: ['172.16.200.110:9100']
        labels:
          instance: node-exporter
然后我们通过Docker命令来启动prometheus:
docker run  -d \
  -p 9090:9090 \
  -v /opt/prometheus/prometheus.yml  \
  prom/prometheus \
  --web.enable-lifecycle \
  --web.enable-admin-api \
  --config.file=/etc/prometheus/prometheus.yml \
  --storage.tsdb.path=/prometheus \
  --web.console.libraries=/usr/share/prometheus/console_libraries
注:默认的 Prometheus 是不开启 enable-lifecycle 的、这里我们为了方便后面的热更新、我们把 web.enable-lifecycle 和 web.enable-admin-api 等配置开启。
创建完成我们来查看服务是否已经正常启动:
[root@ZabbixServer ~]# docker ps -a | grep prometheus
44c5a06b1243   prom/prometheus   "/bin/prometheus --c…"   9 hours ago    Up 9 hours    0.0.0.0:9090->9090/tcp   nice_sutherland
[root@ZabbixServer ~]# netstat -nltp
Active Internet connections (only servers)
Proto Recv-Q Send-Q Local Address           Foreign Address         State       PID/Program name
tcp        0      0 0.0.0.0:80              0.0.0.0:*               LISTEN      5234/nginx: worker
tcp        0      0 0.0.0.0:22              0.0.0.0:*               LISTEN      6027/sshd
tcp6       0      0 :::9100                 :::*                    LISTEN      26039/node_exporter
tcp6       0      0 :::22                   :::*                    LISTEN      6027/sshd
tcp6       0      0 :::9090                 :::*                    LISTEN      26876/docker-proxy
[root@ZabbixServer ~]#
prometheus服务启动正常以后我们可以直接去访问http://172.16.200.110:9090/targets,从下图我们可以看到两个Targets的state状态是UP、然后我们去安装Grafana。

Grafana部署
Grafana需要做数据持久化、不然我们重启Grafana服务以后所以的配置信息将会丢失。我们在opt目录下面新建一个名为grafana-storage的空文件夹用来做数据持久化。
# 新建空文件夹grafana-storage,用来做数据持久化
mkdir /opt/grafana-storage

# 设置权限
chmod 755 -R /opt/grafana-storage
# 注:因为grafana用户会在这个目录写入文件,直接设置755。
然后我们通过下面的Docker命令来创建grafana:
docker run -d \
  -p 3000:3000 \
  --name=grafana \
  -v /opt/grafana-storage:/var/lib/grafana \
  grafana/grafana
创建完成我们再次来查看服务是否已经正常启动:
[root@ZabbixServer ~]# docker ps -a | grep grafana
106d1f3b35f2   grafana/grafana                        "/run.sh"                10 hours ago    Up 10 hours                 0.0.0.0:3000->3000/tcp              grafana
[root@ZabbixServer ~]# netstat -nltp
Active Internet connections (only servers)
Proto Recv-Q Send-Q Local Address           Foreign Address         State       PID/Program name
tcp        0      0 0.0.0.0:80              0.0.0.0:*               LISTEN      5234/nginx: worker
tcp        0      0 0.0.0.0:22              0.0.0.0:*               LISTEN      6027/sshd
tcp6       0      0 :::9100                 :::*                    LISTEN      26039/node_exporter
tcp6       0      0 :::22                   :::*                    LISTEN      6027/sshd
tcp6       0      0 :::3000                 :::*                    LISTEN      27231/docker-proxy
tcp6       0      0 :::9090                 :::*                    LISTEN      29542/docker-proxy
[root@ZabbixServer ~]#
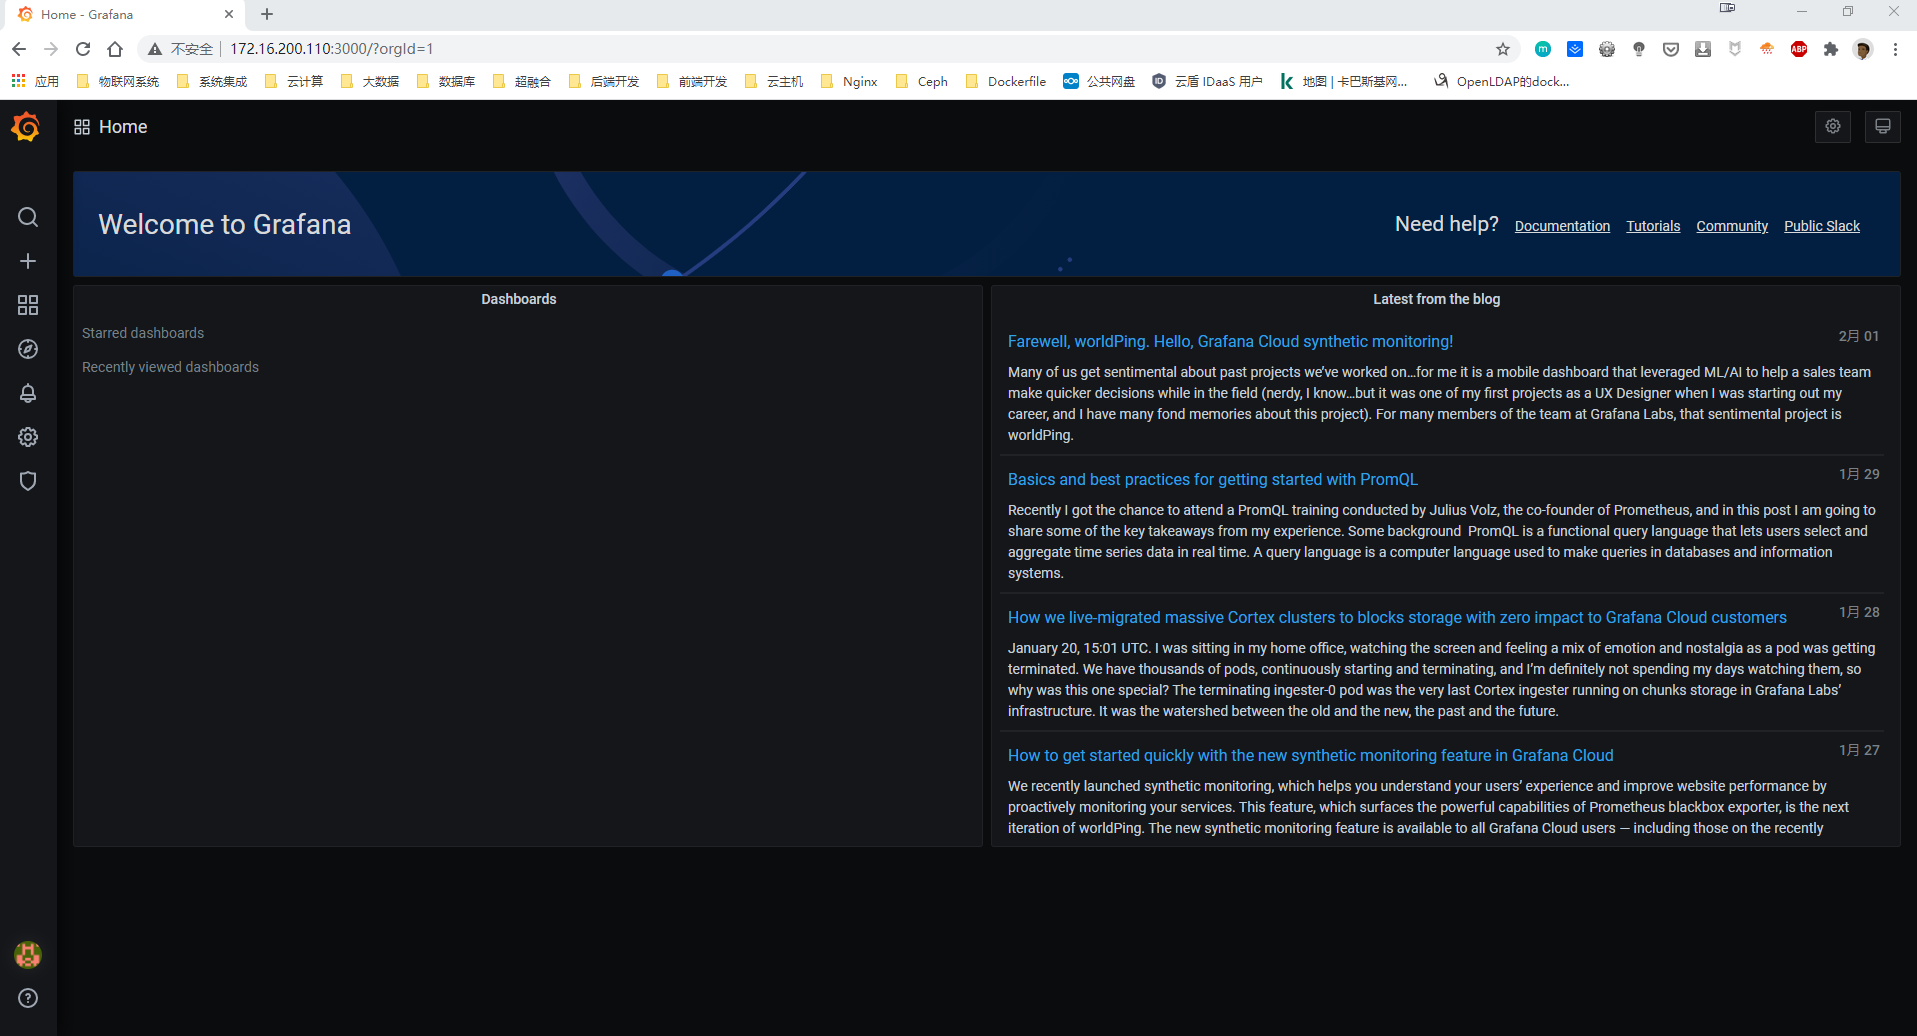
我们通过http://172.16.200.110:3000/login去访问Grafana、默认的账号密码都是admin;登录之后Grafana会要求我们重置密码、我们连续两次输入新密码就可以直接跳转到Grafana首页:

Django-Prometheus部署
Prometheus社区已经为许多技术栈(Nodejs,Spring Boot,Django等等)准备好了许多开源的第三方库,这些第三方库你可以直接拿来使用。而Django-Prometheus 正是 Prometheus.io 上用来监控应用程序并监视一些数据的 Django 控件;它可以将Django的监控数据暴露给Prometheus。
我们先去虚拟环境里面安装 django-prometheus ,安装完成以后我们需要去 settings.py 文件里面(这里我把配置内容引入到 settings/pro_settings.py 文件中)注册 django-prometheus APP;并把django-prometheus相关的中间件注册进来。具体如下:
INSTALLED_APPS = [
   ...
   'django_prometheus',
   ...
]

MIDDLEWARE = [
    'django_prometheus.middleware.PrometheusBeforeMiddleware',
    ......
    'django_prometheus.middleware.PrometheusAfterMiddleware',
]
注:这里需要注意一下、我们需要在把django-prometheus的中间件引入MIDDLEWARE的最上方和最下方;这样django-prometheus才可以正常采集到我们需要的数据。
然后我们把django-prometheus的URL配置进来:
urlpatterns = [
    ...
    path('', include('django_prometheus.urls')),
]
配置完成之后我们通过 systemctl restart datasite_uwsgi 重启django应用;然后我们去访问 http://172.16.200.111:8000/metrics:

从上图我们可以看到、我们现在已经可以正常拿到 django-prometheus 采集的 metrics了。这里因为我的 Django 应用部署在另外一台主机上;Grafana+Prometheus+node-exporter在一台机器上。前面我们已经开启了 Prometheus 的热更新功能、我们现在进入 docker 容器里面去修改yaml文件;docker 容器的 yaml 文件路径为:/etc/prometheus/prometheus.yml 、具体操作如下:
# 进入容器内部修改yaml文件
[root@ZabbixServer ~]# docker ps -a | grep prom
6c5e1fde5524   prom/prometheus   "/bin/prometheus --w…"   3 hours ago    Up 3 hours   0.0.0.0:9090->9090/tcp  vibrant_nightingale
a9d3039079bf   prom/node-exporter    "/bin/node_exporter"   33 hours ago   Up 33 hours   peaceful_payne
[root@ZabbixServer ~]# docker exec -it -u root 6c5e1fde5524 /bin/sh
/prometheus # vi /etc/prometheus/prometheus.yml
/prometheus # exit
[root@ZabbixServer ~]#

# yaml文件内容如下
global:
  scrape_interval:     60s
  evaluation_interval: 60s

scrape_configs:
  - job_name: prometheus
    static_configs:
      - targets: ['172.16.200.110:9090']
        labels:
          instance: prometheus

  - job_name: node-exporter
    static_configs:
      - targets: ['172.16.200.110:9100']
        labels:
          instance: node-exporter

  # Django主机
  - job_name: node-exporter-datasite
    static_configs:
      - targets: ['172.16.200.111:9100']
        labels:
          instance: node-exporter-datesite

  # Django应用
  - job_name: datasite
    static_configs:
      - targets: ['172.16.200.111:8000']
        labels:
          instance: datesite

# 在线热更新
curl -X POST "http://172.16.200.110:9090/-/reload"
注:这里我单独再Django主机上部署了 node-exporter 用来采集 Django主机的基础数据进行监控。
从下图我们可以看到、热更新完成之后 Prometheus 已经成功拿到了两个 Targets 且 State 状态是 UP。

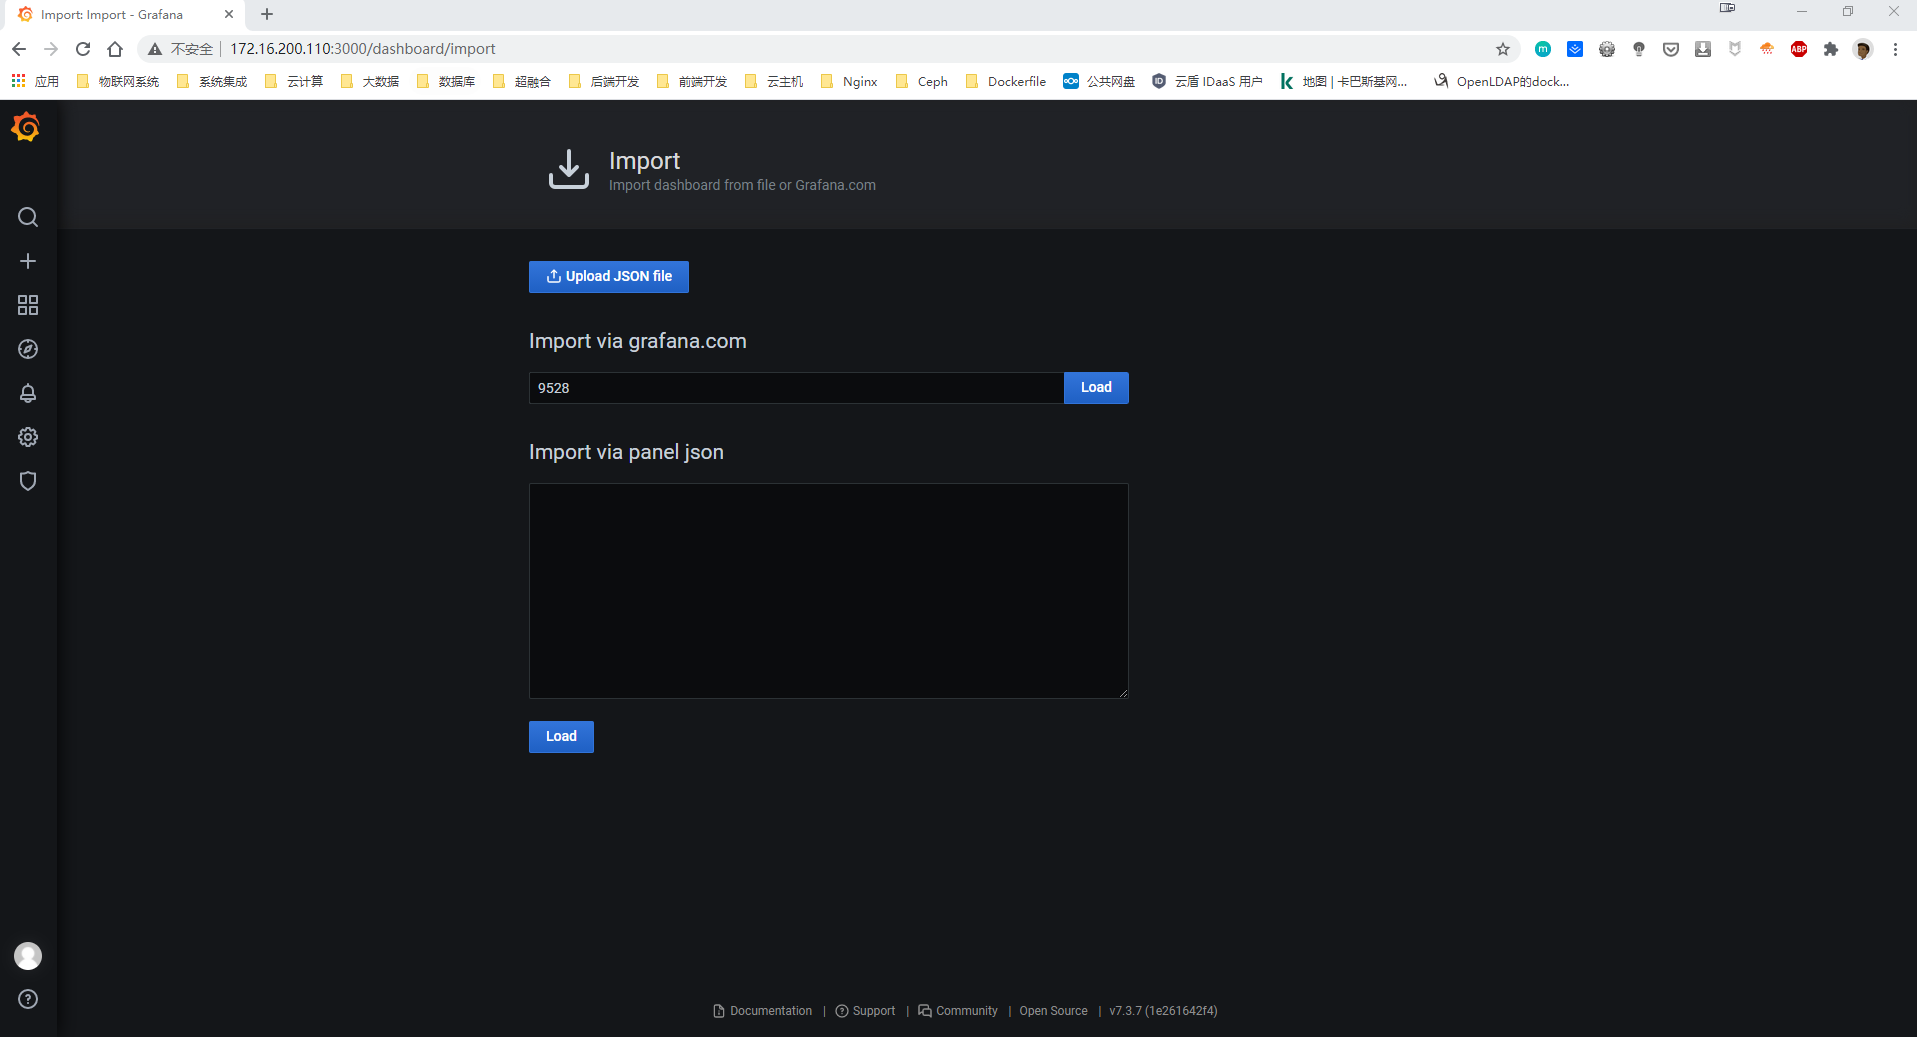
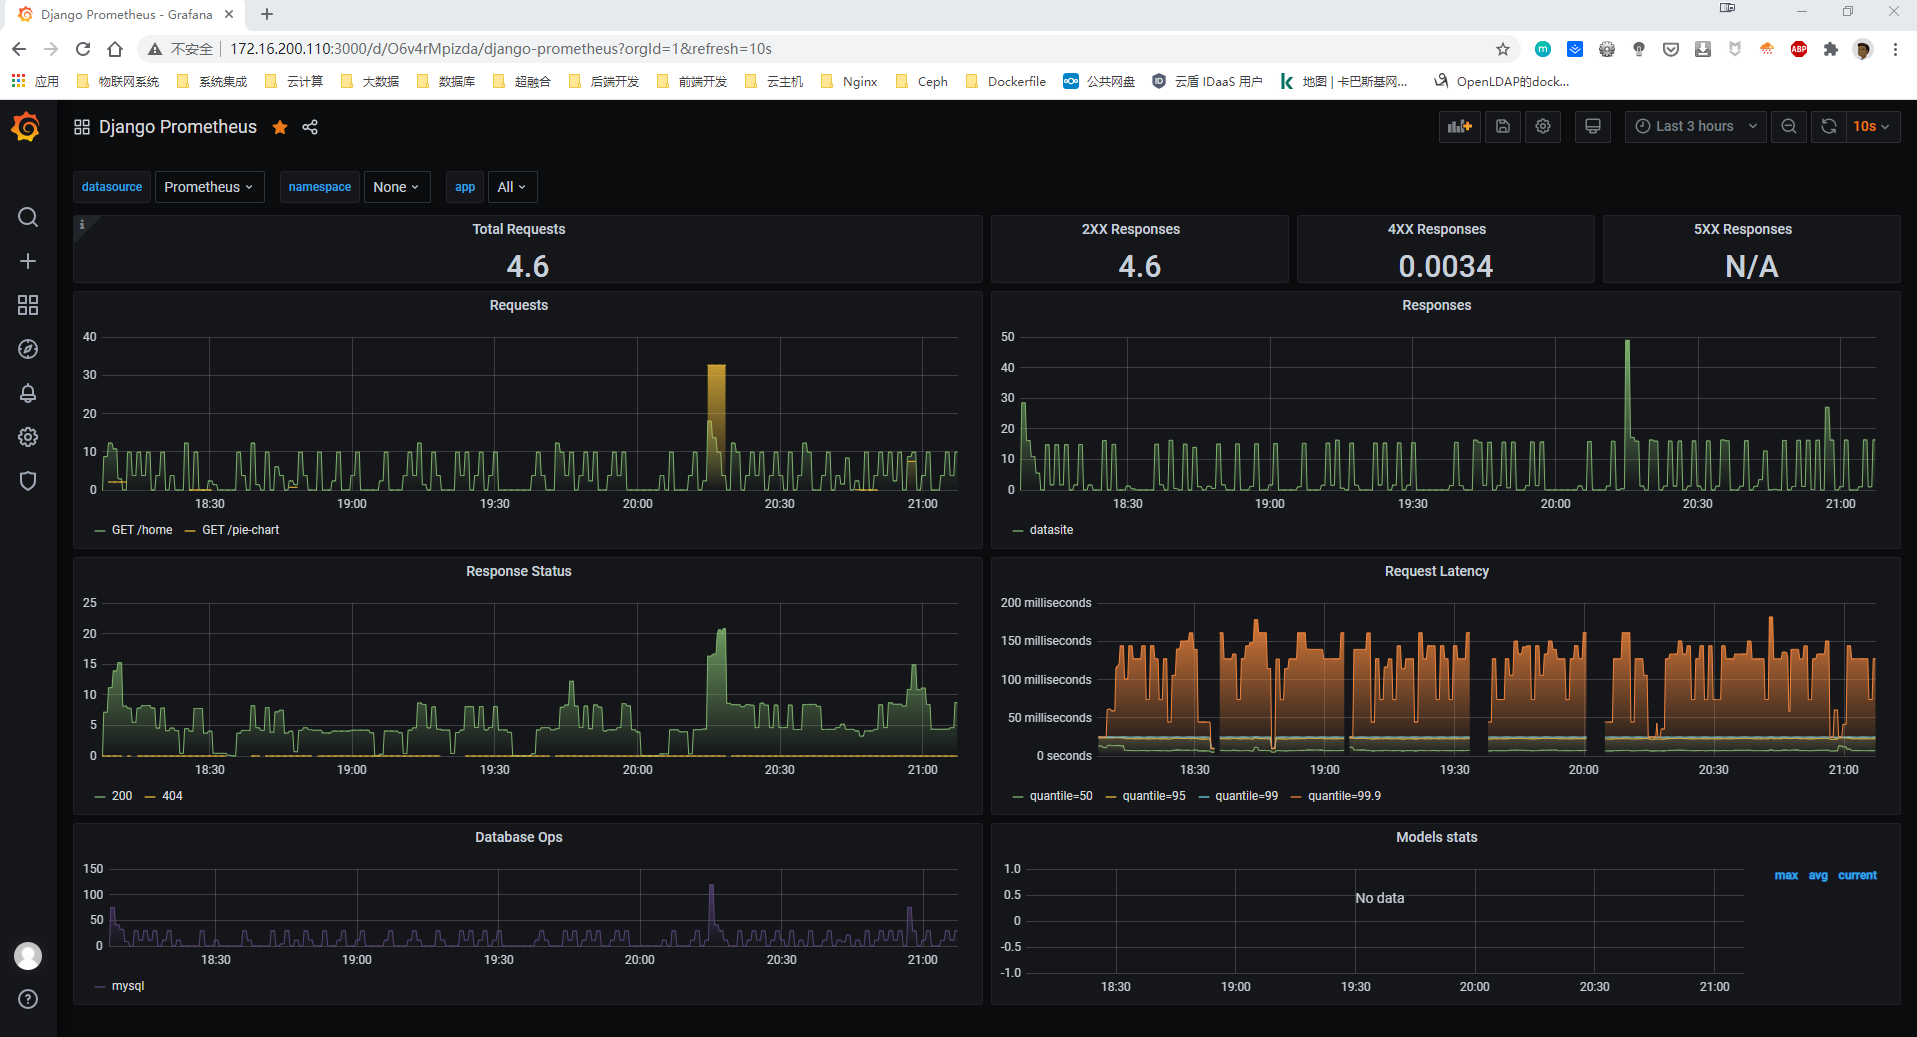
现在我们去Grafana里面把Prometheus的数据源添加进来、然后我们添加一个9528的Dashboard;然后我们直接去查看刚才添加的Dashboard已经有数据上来了。

