文章目录
Ueditor HTML编辑器是百度开源的在线HTML编辑器,功能非常强大,像表格可以直接拖动调整单元格大小等。
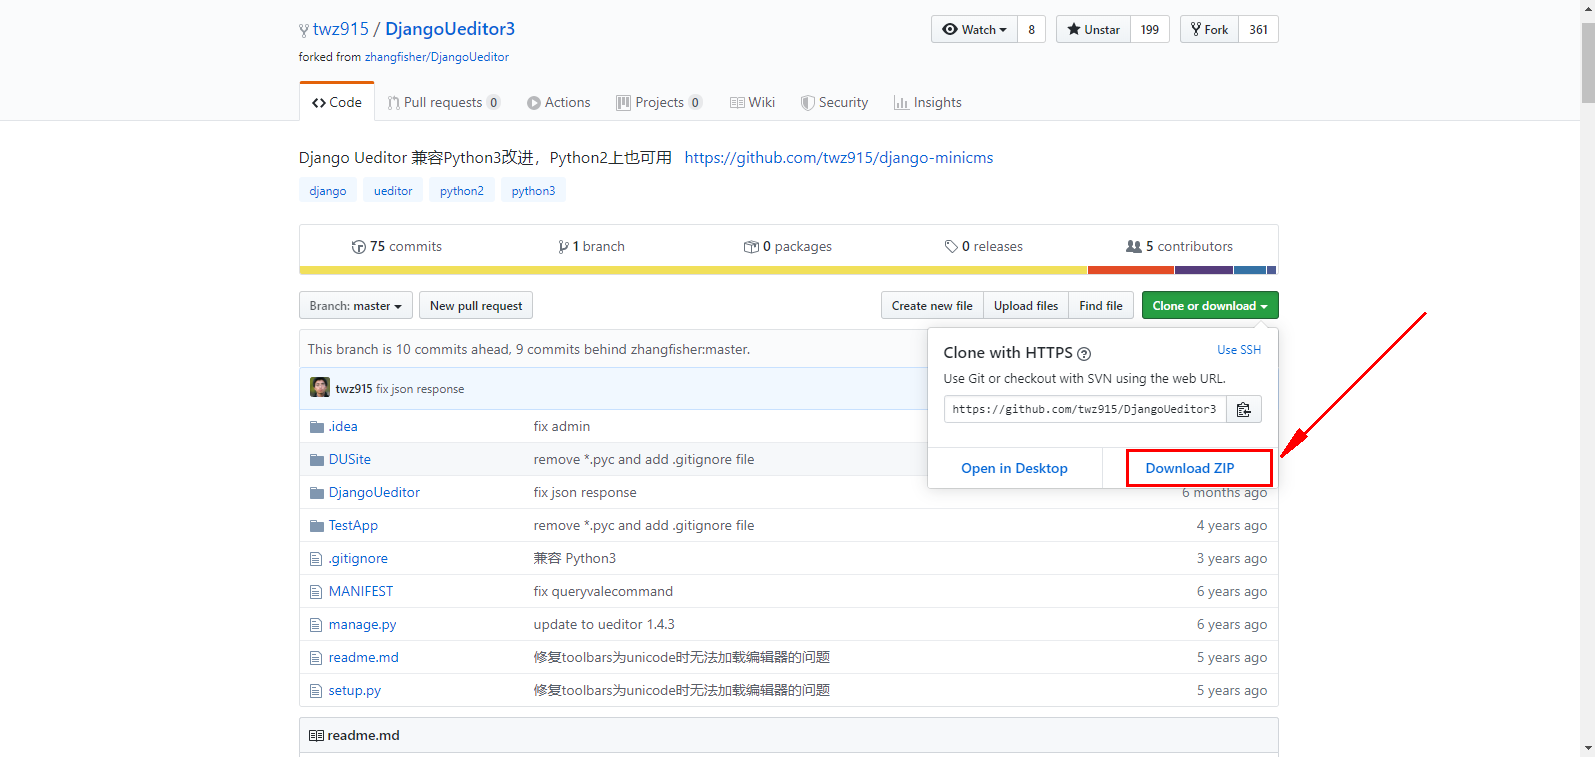
项目地址:https://github.com/twz915/DjangoUeditor3
在安装DjangoUeditor3之前我们需要先创建一个Django项目、并完成xadmin的安装、不会的小伙伴请自行百度安装,这里就不再做详细的介绍了。
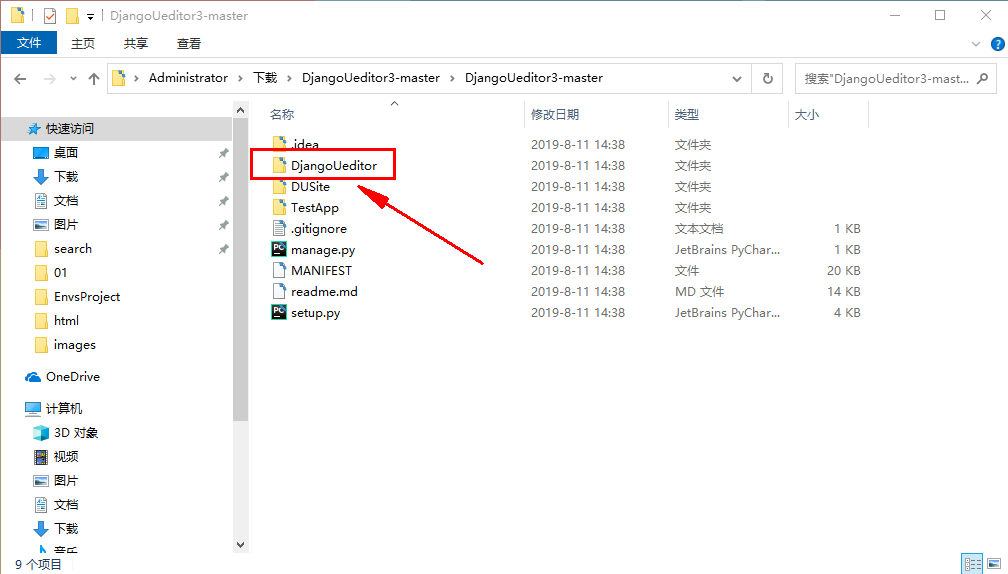
1、安装包下载
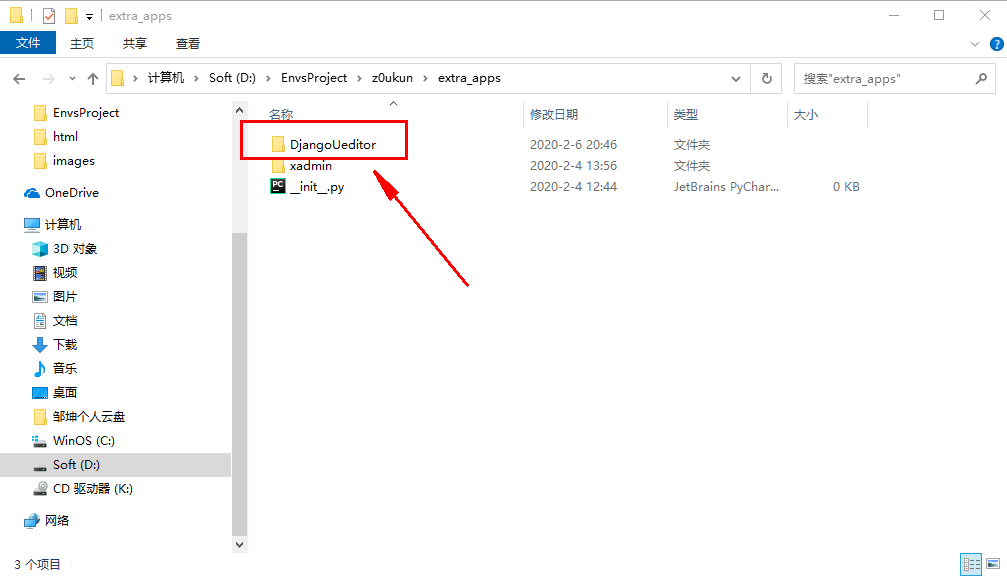
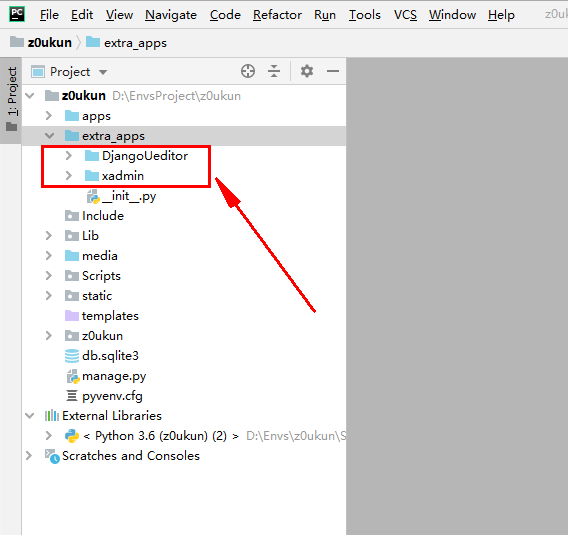
下载DjangoUeditor这个包并解压,进入到包文件夹中找到DjangoUeditor包拷贝到和xadmin同级目录中,如下图:
2、DjangoUeditor注册
将DjangoUeditor注册到项目settings.py中, INSTALLED_APPS下, 如下:
INSTALLED_APPS = [
    'django.contrib.admin',
    'django.contrib.auth',
    'django.contrib.contenttypes',
    'django.contrib.sessions',
    'django.contrib.messages',
    'django.contrib.staticfiles',
    'users',
    'xadmin',
    'crispy_forms',
    'reversion',
    # 富文本编辑器
    'DjangoUeditor'
]
3、配置DjangoUeditor加载路径
配置上传文件的加载路径、在项目settings里面配置如下,并在项目主目录下面创建media目录:
MEDIA_URL = '/media/'
MEDIA_ROOT = os.path.join(BASE_DIR, 'media')
4、配置DjangoUeditor路由
在项目中找到urls.py,配置DjangoUeditor路由(url(r’^ueditor/’, include(‘DjangoUeditor.urls’)),):
from django.conf.urls import url, include
from django.contrib import admin
from django.urls import re_path
from django.views.static import serve

from .settings import MEDIA_ROOT
import xadmin

urlpatterns = [
    url(r'^xadmin/', xadmin.site.urls),
    # url(r'^admin/', admin.site.urls),

    # 处理图片显示的url,使用Django自带的serve;
    # 传入参数告诉ueditor去哪个路径找,这里我们从项目setting中传入MEDIA_ROOT
    url(r'^media/(?P<path>.*)$', serve, {"document_root": MEDIA_ROOT} , name='media'),
    # 增加ueditor映射
    url(r'^ueditor/', include('DjangoUeditor.urls')),
]
5、添加xadmin插件
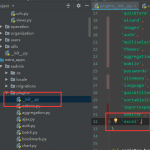
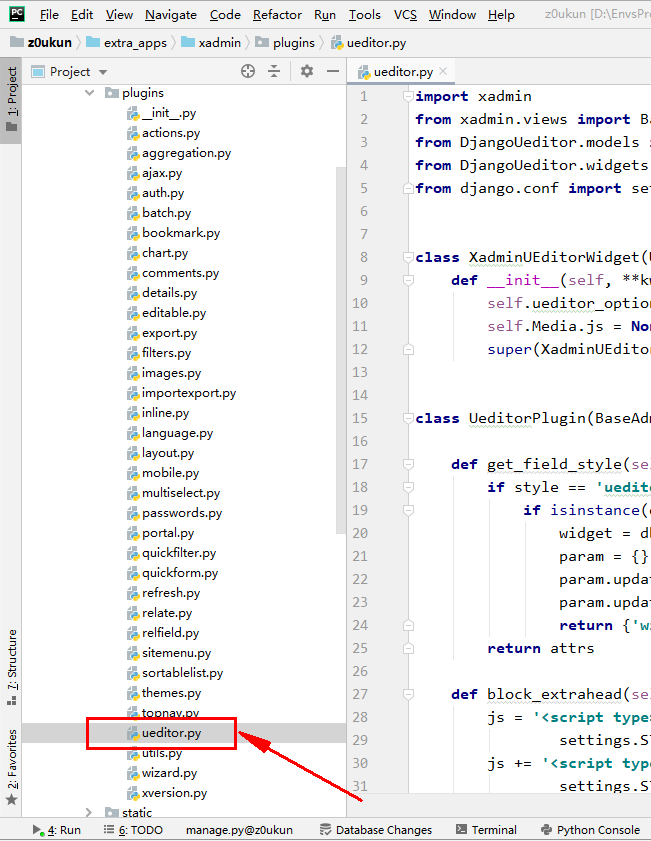
前面我们已经将xadmin源文件拷贝到了项目下,为extra_apps/xadmin,在xadmin下的plugin中新建一个ueditor.py文件,并插入如下代码、项目结构如下:

插入代码:
import xadmin
from xadmin.views import BaseAdminPlugin, CreateAdminView, ModelFormAdminView, UpdateAdminView
from DjangoUeditor.models import UEditorField
from DjangoUeditor.widgets import UEditorWidget
from django.conf import settings


class XadminUEditorWidget(UEditorWidget):
    def __init__(self,**kwargs):
        self.ueditor_options=kwargs
        self.Media.js = None
        super(XadminUEditorWidget,self).__init__(kwargs)


class UeditorPlugin(BaseAdminPlugin):

    def get_field_style(self, attrs, db_field, style, **kwargs):
        if style == 'ueditor':
            if isinstance(db_field, UEditorField):
                widget = db_field.formfield().widget
                param = {}
                param.update(widget.ueditor_settings)
                param.update(widget.attrs)
                return {'widget': XadminUEditorWidget(**param)}
        return attrs

    def block_extrahead(self, context, nodes):
        js = '<script type="text/javascript" src="%s">;</script>;' % (settings.STATIC_URL + "ueditor/ueditor.config.js")         #自己的静态目录
        js += '<script type="text/javascript" src="%s">;</script>;' % (settings.STATIC_URL + "ueditor/ueditor.all.min.js")   #自己的静态目录
        nodes.append(js)

xadmin.site.register_plugin(UeditorPlugin, UpdateAdminView)
xadmin.site.register_plugin(UeditorPlugin, CreateAdminView)
6、xadmin插件注册
将ueditor插件注册到plugins中的init.py的PLUGINS中
PLUGINS = (
    ………………
    # 富文本编辑器
    'ueditor',
)
7、使用UEditorField字段
做完了上面的所有操作、此刻我们已经可以使用DjangoUeditor富文本编辑器了。下面我们可以直接去APP的model模型里面对需要使用富文本编辑器的字段直接使用UEditorField;UeditorField宽度高度有两种写法,一个可以直接写死width=900,还可以用百分比的方式,例:width=’90%’,百分比方式必须加 ‘ ‘,不然会报错,imagePath=”content/ueditor/”, filePath=”content/ueditor/”是固定写法、除了content可以修改、其他格式不要随意修改,示例代码如下:
class InformationContent(models.Model):
    id = models.AutoField(primary_key=True)
    title = models.CharField(max_length=200, verbose_name='标题')
    # 两种写法任选其一
    content = UEditorField(verbose_name='内容详情', width=600, height=300, imagePath="content/ueditor/", filePath="content/ueditor/", default='',upload_settings={'imageMaxSizing': 1024000},toolbars='full',)
   # 两种写法任选其一
   content = UEditorField(verbose_name='内容详情', width='90%', height=900, imagePath="content/ueditor/", filePath="content/ueditor/", default='',upload_settings={'imageMaxSizing': 1024000},toolbars='full',)
    up_time = models.DateTimeField(default=datetime.now, verbose_name='发布时间')

    class Meta:
        verbose_name = '内容编辑'
        verbose_name_plural = verbose_name

    def __str__(self):
        return self.title
8、DjangoUeditor插件配置
在app下找到admin.py或者自己创建的adminx.py文件中,配置插件。style_fields = {‘ic_content’: ‘ueditor’} ic_content是自己在models创建的字段,后面必须跟上ueditor:
class InformationContentXadmin(object):
    """内容编辑"""
    list_display = ['id', 'title', 'up_time']
    search_fields = ['id', 'up_time']
    list_editable = ['id', 'title', 'up_time']
    list_filter = ['id', 'title', 'up_time']
    show_detail_fields = ['id', 'title', 'up_time']
    <span style="color: #ff0000;"># 下面的格式是固定写法、必须这么写。</span>
    <span style="color: #ff0000;">style_fields = {'content': 'ueditor'}</span>


xadmin.site.register(InformationContent, InformationContentXadmin)
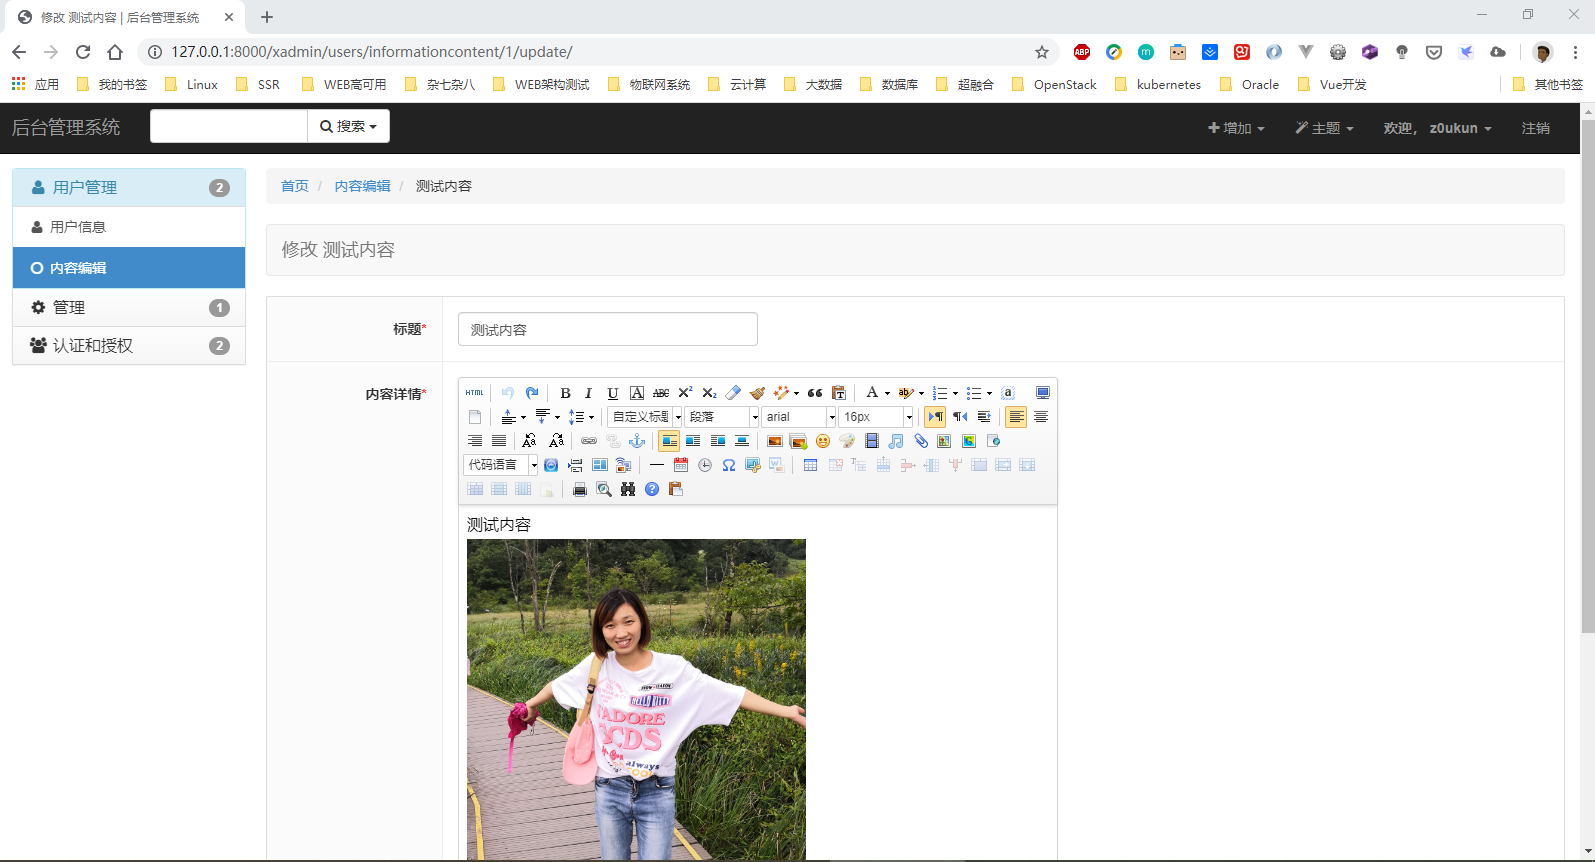
9、测试效果如下
配置完成之后我们启动项目、并进入后台去添加富文本内容:
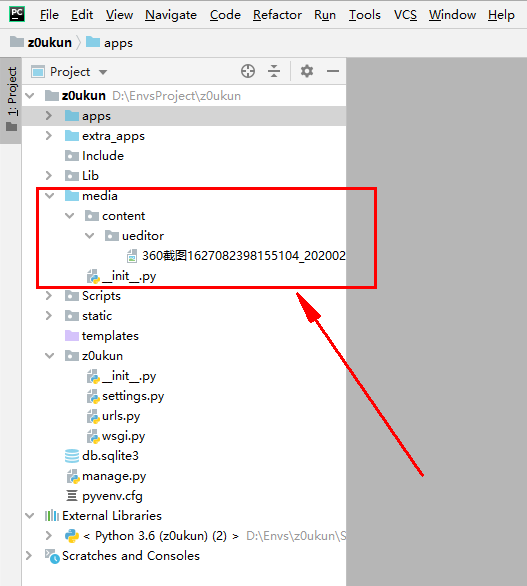
富文本内容提交之后、我们可以在项目media目录下面看到刚才上传的图片文件(如上图)。